
How can I split long videos into clips without re-encoding? Use a splitter that works by stream copy: it cuts the existing video and audio data at your chosen points and writes new files without compressing them again, so quality is identical to the source and splitting takes seconds rather than minutes. The one trade-off is that cuts land on the nearest keyframe, so for frame-exact starts you switch that clip to re-encoding.
For tube site owners and VOD affiliates, that combination is ideal: you can turn a full scene into preview clips, trailer segments or equal parts for a gallery in bulk, without the quality loss and processing time of a full encode.
Why preview clips matter for tube sites and VOD affiliates
Short previews do several jobs at once. They give visitors a quick taste before they click through to a paysite or VOD store, they provide extra pages and video objects for search engines, and they let you test which scenes convert before you promote them harder. If you are building the site from scratch, our guide on how to start a tube site covers the bigger picture.
Before you cut anything, check your rights. Content from sponsors, content providers or VOD programs usually comes with rules on how long previews can be and where they may appear. Compare sources in our content providers directory and read the licence terms before publishing trailers.
Stream copy vs re-encoding: cut video without losing quality
| Stream copy (lossless) | Re-encode | |
|---|---|---|
| Quality | Identical to the source | Slight loss, depending on settings |
| Speed | Very fast | Slower; depends on your hardware |
| Cut accuracy | Nearest keyframe | Frame-exact |
| Can change format or size | No | Yes |
The keyframe caveat
Compressed video stores a complete picture (a keyframe) only every so often, with the frames in between described as changes. A stream-copy cut has to start on a keyframe, so it usually lands within one to three seconds of the time you set. For a 60-second preview that rarely matters. For a trailer that must open on a precise frame, re-encode that clip.
Ways to split a video into multiple clips
Different tube tasks need different split modes:
- Fixed clip length, for example every two minutes, for segment pages or a paginated scene.
- Equal parts, for example splitting a scene into four equal chapters for a gallery.
- Custom in/out points for hand-picked preview moments.
- Chapters, where MP4 or MKV masters already carry chapter markers from the studio.
- Maximum file size, when a partner tube or upload tool has a cap.
Splitting scenes in bulk on Windows
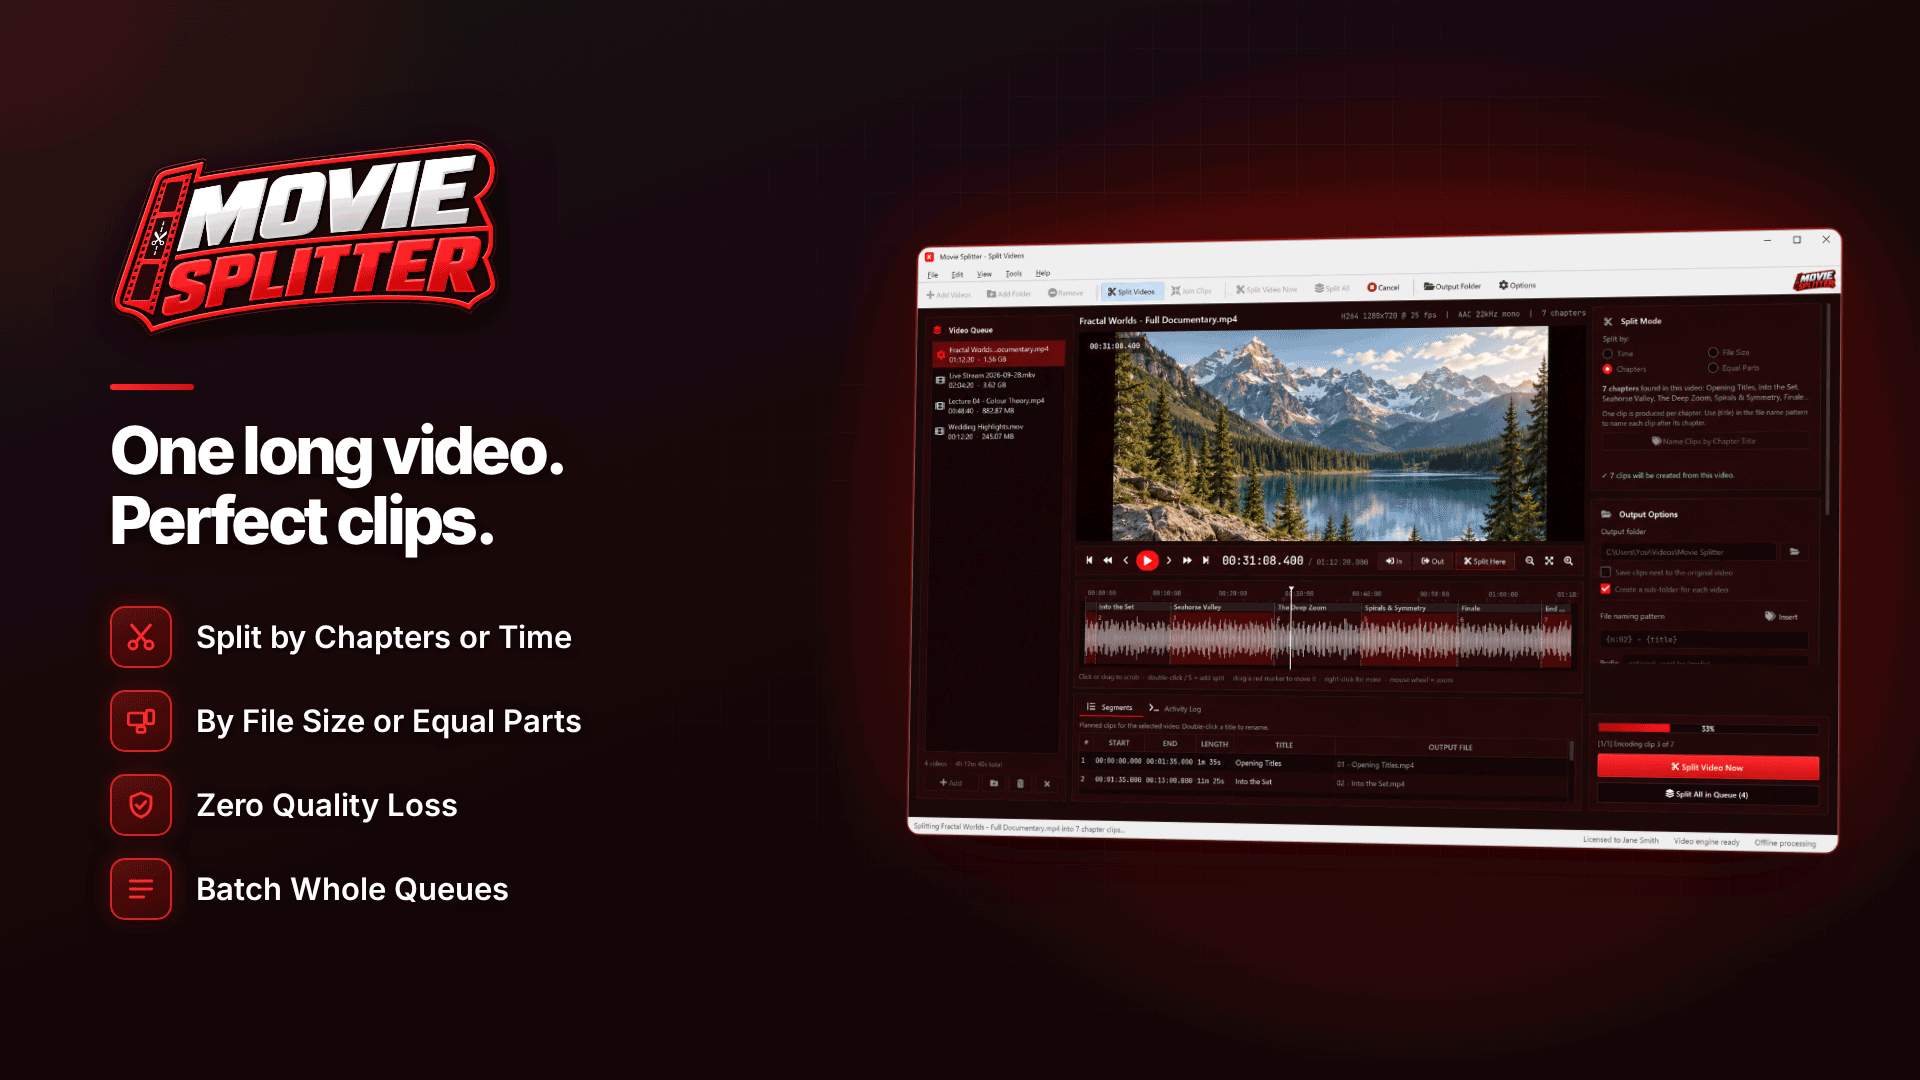
Movie Splitter is a Windows 10 and 11 video splitter that uses lossless stream copy by default and covers all of the modes above. It splits by start and end time, fixed clip length, timeline markers or custom in/out points, into anything from 2 to 999 equal parts, by chapter for MP4 and MKV, or by maximum file size. Processing happens offline on your PC with a bundled FFmpeg engine.
Lossless splitting works with the formats you are most likely to receive from studios and content partners, including MP4/M4V, MKV, MOV, AVI, WMV, TS/M2TS, MPG, FLV and WebM.
How to batch split videos for a tube site
- Add a folder of scenes to the queue. Batch mode applies the same settings to every file.
- Choose the mode, for example equal parts (four segments per scene) or a fixed length.
- Set the naming pattern using tokens such as the original name, a prefix, clip number, total clips, chapter title, time range and date. A live example shows exactly what the files will be called.
- Run the batch. Each video's clips go into their own sub-folder, and existing files are not overwritten because overwrite is off by default.
- Check the activity log for any file that needs attention.
A naming pattern such as sitecode_scenename_part02-of-04 means clips sort correctly and can be matched to their parent scene in your CMS or upload tool. Save it as a preset so every batch is named the same way.
Hand-picking trailer moments
For curated previews, Movie Splitter's visual timeline shows a frame preview, the audio waveform and any chapter markers. Drag split markers or set in/out points, and the Segments list shows every clip you are about to create. The waveform is handy for avoiding cuts mid-sentence in interview-style intros.
When to switch to re-encoding
Switch a clip to re-encoding when you need any of the following:
- A frame-exact start for a trailer or a looping preview.
- A different format, such as MP4 from an older AVI or WMV master.
- Smaller files, for example scaling a preview down to 480p or 360p for a mobile gallery.
Re-encoding offers quality presets or a custom bitrate, scaling down to 360p, audio from 96 to 320 kbps and an encoding speed setting, with output to MP4, MKV, MOV, AVI, WebM or WMV.
Tip: split losslessly first, then re-encode only the handful of clips that need frame accuracy or a smaller size. It is far quicker than re-encoding everything.
A trailer clip workflow for tube sites
Here is a hypothetical routine for a site that publishes 20 new scenes a week:
- Drop the week's masters into an incoming folder.
- Batch-split each scene into equal parts for segment pages, losslessly.
- Hand-pick one 30 to 60-second trailer per scene with in/out points.
- Re-encode only the trailers at a smaller resolution for preview players.
- Generate thumbnails for every clip; see how to bulk generate thumbnails for a tube site.
- Upload and link each preview to the full scene or the sponsor's page.
If you also post previews to partner tubes, see our guide to uploading videos to multiple tube sites.
How long should preview clips be?
There is no single right answer, and the best length depends on where the clip is shown and what the sponsor allows. As a rule of thumb:
- Hover or thumbnail previews work best as very short loops of a few seconds, often stitched from several moments.
- Trailer clips on a scene page are usually long enough to show the setting and performers, without giving away the full scene.
- Segment pages can be longer, since the point is to keep visitors watching and clicking through to the next part.
Test rather than guess: publish two trailer lengths for similar scenes and compare click-through to the full video or the sponsor's page over a few weeks. Always keep previews within the limits your content licence sets.
Check your clips before publishing
Open a sample of the finished clips and check the first and last few seconds, the audio sync and the file names. Lossless clips should look identical to the source, so if something looks wrong it is usually the cut point, not the quality. Fix it by nudging the marker or re-encoding that single clip.
Common mistakes
- Re-encoding everything when stream copy would do, wasting hours and quality.
- Inconsistent names that break imports or make it impossible to trace a clip back to its scene.
- Ignoring licence rules on preview length or placement.
- Expecting frame-exact lossless cuts; plan for the keyframe offset or re-encode.
Frequently asked questions
Can I split a video into equal parts without losing quality?
Yes. Equal-part splitting with stream copy keeps the original quality. Each part may start a second or two off the exact mathematical split point because of keyframes.
Why is my clip a couple of seconds longer than I set?
Lossless cuts snap to the nearest keyframe. Re-encode that clip if you need an exact start and end.
Can I join clips back together later?
Yes. Joining is lossless when the clips share the same codec and resolution; otherwise they need re-encoding.
Next steps
Settle on one naming pattern and one or two split presets, then make clip production part of your weekly publishing routine. To get more from the previews you create, read about VOD affiliate programs and the promo tools adult programs provide. When you are ready to batch-split your own scenes, you can download and explore Movie Splitter.


